
Here are some fun flowers to whip up as pins, clips, headbands, or really anything that needs a flower! Here's what you need:

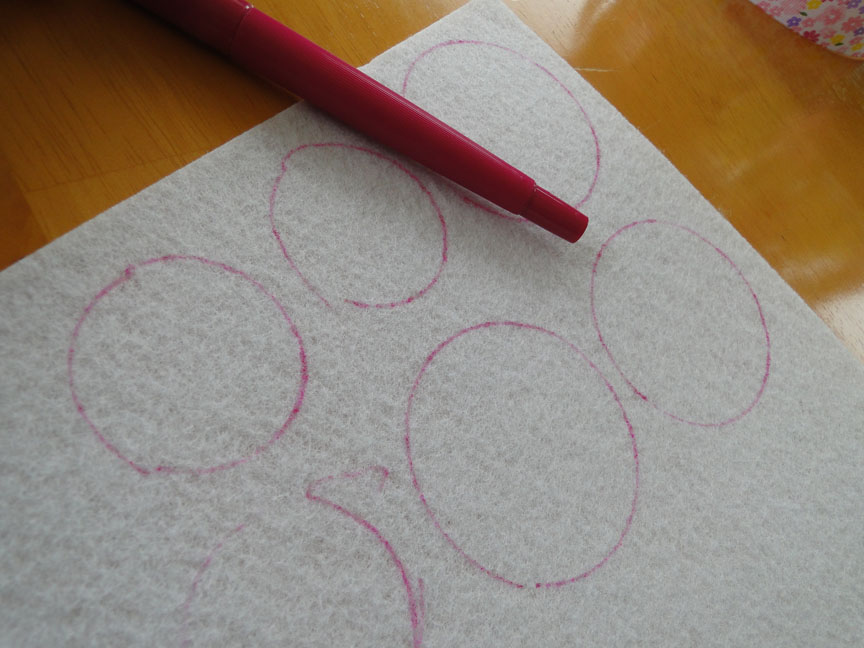
1. Using the felt tipped marker trace several circles on the felt. Cut out all your circles just inside the line and set aside. I did a lot at once just so I wouldn't have to do this over if I wanted to make more. I found the stiff felt at Michael's right next to the normal felt.
2. Cut a length of ribbon, about 2 feet or so, and using a lighter seal the ends of the ribbon. This prevents fraying later. Tie a knot at one end of the ribbon as close to the end as possible.

3. Hot glue the knot to the center of a felt circle.

4. Now comes the part that takes a little practice. Take the ribbon and start twisting. You can twist tight or loose and get a different look with each flower. I twist in the middle, I would say. I twist a few inches then lay a bead of hot glue and press the twisted ribbon down.


5. Keep twisting and glueing until you have reached the size flower that you want. Trim extra ribbon, if you have any, and reseal the end with a lighter. Make sure your flower is all glued down and trim excess felt from the back of the flower. I added a strip of felt to the back of my flowers to slide onto headbands and barretts for Ava.


You can whip a bouquet of these up in a short amount of time. Like during naptime perhaps! I even made a few with strips of fabric, too. Very shabby chic! These would be so cute as pins on purses or scarves. As with anything, the more you make the better they start to look and the less hot glue you see :o) Happy flowering everyone!
Love these...another great tutorial, thanks so much! Have to try 'em!
ReplyDeleteWhoa, this looks so do-able! Thanks for sharing.
ReplyDeleteThanks so much for sharing this - I've seen these pretty flowers around but never knew how to make them!!! Thank you!
ReplyDelete